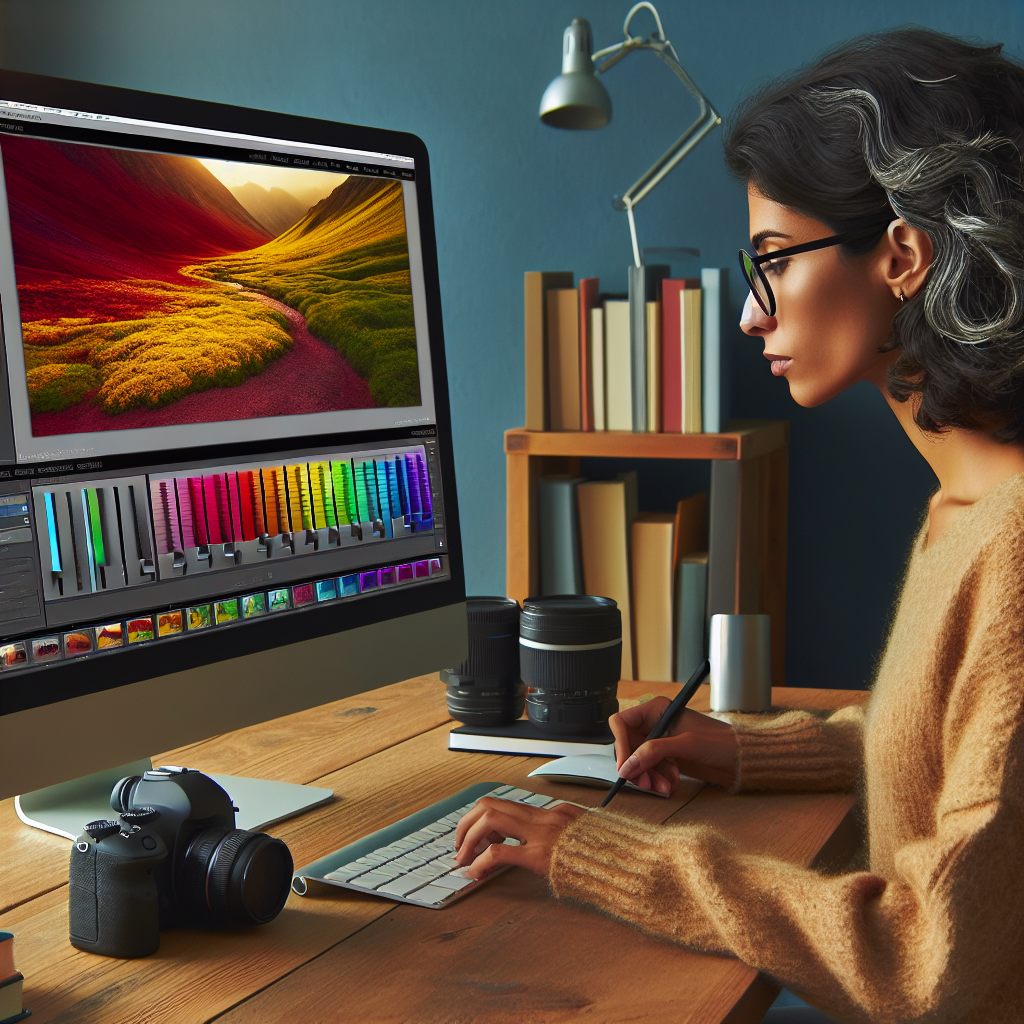
Photo editing software has become an essential tool for both casual photographers and professionals. Whether you’re looking to touch up a holiday snapshot or prepare images for a professional portfolio, understanding how to use basic photo editing software is fundamental. In this guide, we will take you through the basic steps and functionalities of popular photo editing software.
1. Getting Started with Basic Photo Editing Software
Before diving into editing, it’s essential to familiarize yourself with the software interface. Most photo editing tools have similar basic features such as cropping, adjusting brightness, and adding filters. Here’s a quick overview of what you can expect from some of the most popular basic photo editing software:
| Software | Platform | Key Features |
|---|---|---|
| Adobe Photoshop Express | Windows, Mac, Mobile | Basic editing tools, filters, and quick fixes |
| GIMP | Windows, Mac, Linux | Advanced editing tools, layers, and masks |
| Canva | Web-based | Templates, text overlays, and filters |
| Fotor | Windows, Mac, Mobile | Basic editing tools, collage maker, beauty retouching |
2. Importing and Organizing Photos
Most editing software has a straightforward process for importing photos. You can usually drag and drop the photos directly into the software or use the import feature. Once your photos are imported, organizing them for easy access is crucial.
- Importing Photos: Use the ‘Import’ option or drag and drop the images.
- Organizing Photos: Create folders and use tags to categorize your photos for easy retrieval.
3. Basic Editing Tools
Understanding the basic tools available in photo editing software is the first step towards mastering photo edits. Here are some common tools you will come across:
Crop and Rotate
This tool allows you to trim or expand edges and change the orientation of your photo. Use this tool to cut out unwanted parts or to focus on the main subject.
Adjust Brightness and Contrast
Brightness and contrast adjustments can make your photo appear more vibrant. Increasing brightness lightens the entire image, while adjusting the contrast makes the darker and lighter areas stand out more.
Color Correction
Color correction tools help adjust the color tones of your images. You can tweak the temperature to make the colors warmer or cooler and adjust the saturation to make the colors more or less intense.
Filters and Effects
Most photo editing software comes with pre-set filters and effects that you can apply with a single click. These can give your photo a unique look instantly.
- Black and White: Converts your photo to grayscale.
- Vintage: Gives your photo an old-fashioned look.
- Sepia: Adds a warm brown tone to your image.
4. Advanced Editing Techniques
While basic tools are sufficient for simple edits, understanding some advanced techniques can elevate your photo editing skills:
Using Layers
Layers allow you to make non-destructive edits. By working on different layers, you can apply effects and adjustments without altering your original image.
Cloning and Healing
These tools help remove blemishes and imperfections by copying pixels from one part of the photo to another. This is particularly useful for portrait retouching.
Text and Graphic Overlays
Many photo editing programs allow you to add text or graphic elements to your images. This is useful for creating social media posts, invitations, and other graphic content.
5. Saving and Exporting Edited Photos
After editing your photos, the next step is saving and exporting them. Be sure to use the appropriate format depending on your needs:
- JPEG: Ideal for web use and social media.
- PNG: Perfect for images that require a transparent background.
- TIFF: Best for high-quality prints.
Conclusion
Basic photo editing software is powerful and user-friendly, making it accessible to everyone. By mastering the basic tools and learning a few advanced techniques, you can significantly enhance your photos. Whether for personal use or professional projects, the skills you gain will prove invaluable in creating stunning visual content.

